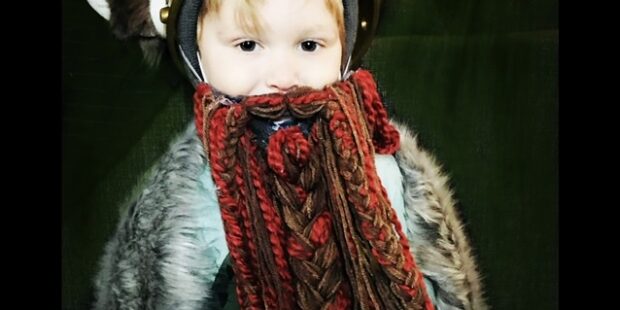
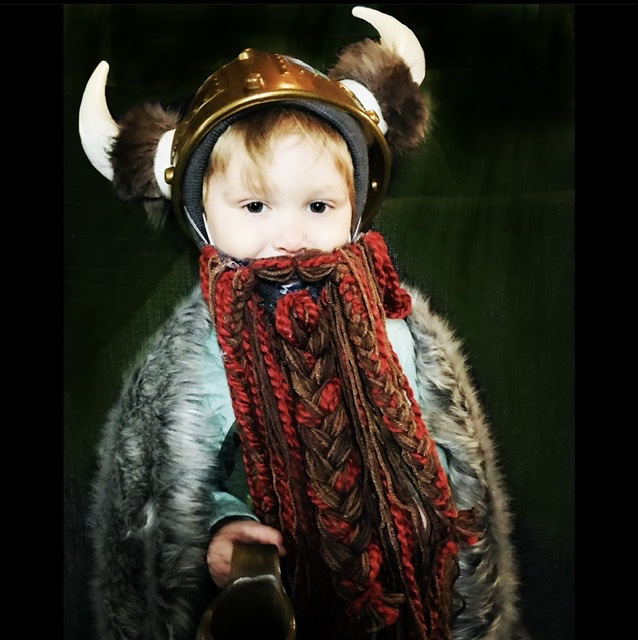
I just finished the first episode of the final season of Vikings with the most adorable inspiration for our next craft. This no-sew Viking beard is easy and just so entertaining.
Step 1:
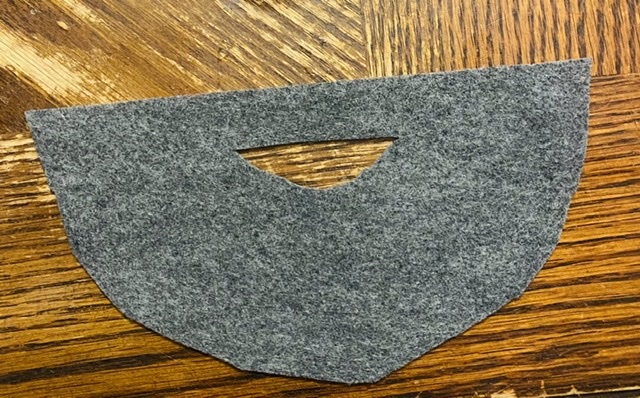
Create Felt Base for Beard
Cut a beard shape from your felt. The top edge — from ear to ear across the nose — should be about 9-1/2 inches wide.
Step 2:
Create the Mustache
Cut a small bundle of yarn 32 inches long. Tie it in the middle with a small piece of yarn; this will be the center point under the nose. Tie it off again two inches from the center on both side; these knots will sit at the corners of the mouth. Braid the remaining length, tie off and trim the bottom.
Step 3:
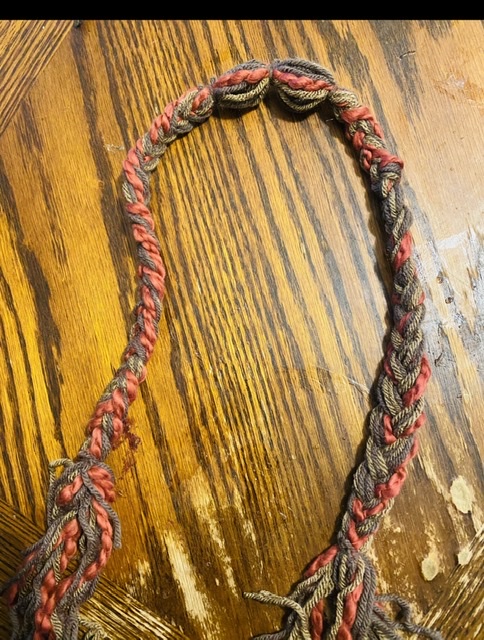
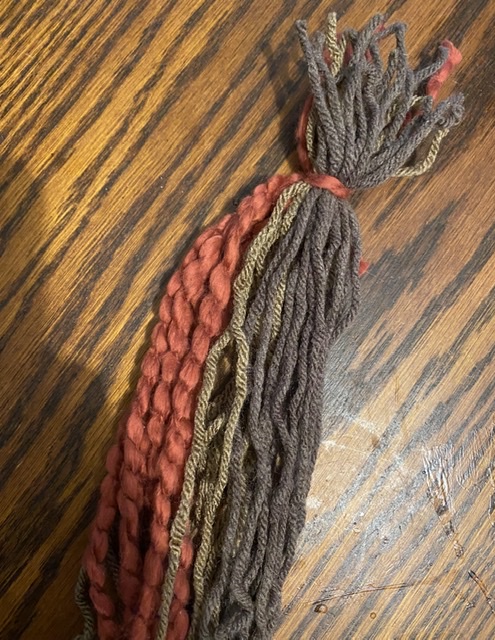
Create Large Soul Patch Braid
Gather a large bundle of yarn cut to 36-inch lengths. Fold the bundle in half and tie one of the ends with yarn. Braid the bundle loosely from the clip down. Use a piece of yarn to tie off the other end.
Step 4:
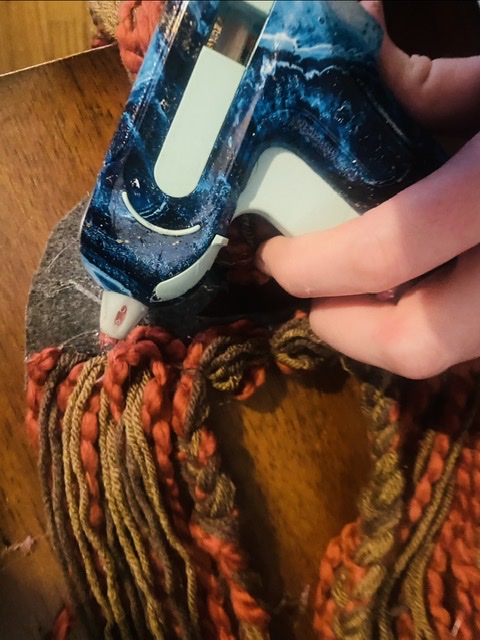
Glue Braids to Felt
Hot glue the mustache to the upper lip of the felt, letting the braids fall. Then glue the looped top of the soul-patch braid to the bottom center of the lip.
Fill in Beard
Cut many 28-inch lengths of yarn. Fold them in half and glue them to the felt across the top edge.
- Cover the Chin. Add another section of yarn along the bottom edge of the mouth opening on both sides.
- Glue a row of yarn under the soul-patch braid.
Step 5:
Add the Strap.
Measure your child ear to ear across the back of their head and attach that length of elastic to the back edges of your felt.
Pair this beard with a Viking hat and your little one has their very own Viking costume!
If you have a pop culture craft idea for us to try, drop it in the comments!